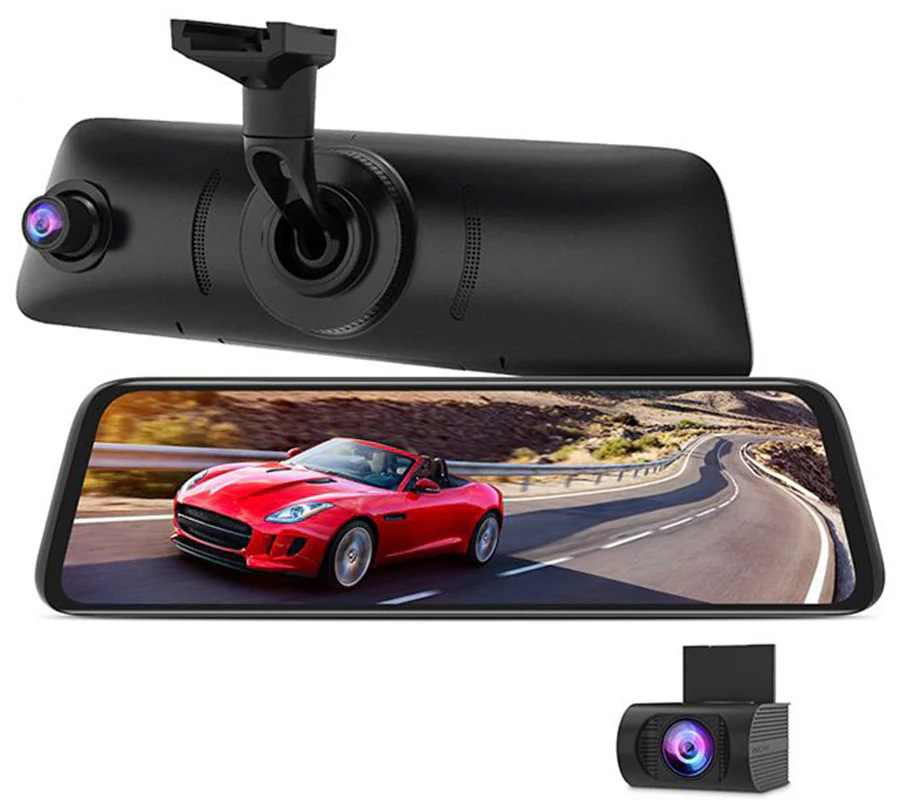
Driving a van without rear windows, there is obviously also no rear view mirror. At some point, however, I became aware that aftermarket digital rear view mirrors are available. These use a camera pointing backwards, and the “mirror” itself is simply a screen. I did a survey of the available options and they fell into two broad types, those that clipped on top of an existing rear view mirror, and those that replaced it entirely. Honestly I’m not sure I really understand the point of the former; if you have an existing (and real) rear view mirror, why would you want to obscure it with a digital equivalent? In the other category, there aren’t actually that many options, but after watching a few reviews I settled on the Auto-VOX V5 Pro. In addition to being a mirror, this one doubles as a dashboard camera, in case you’re involved in a car accident. I still wasn’t really sure if I wanted to get one, particularly at the list price, but then Jeff went and had one of his consumerism festivals and I got it at a significant discount.
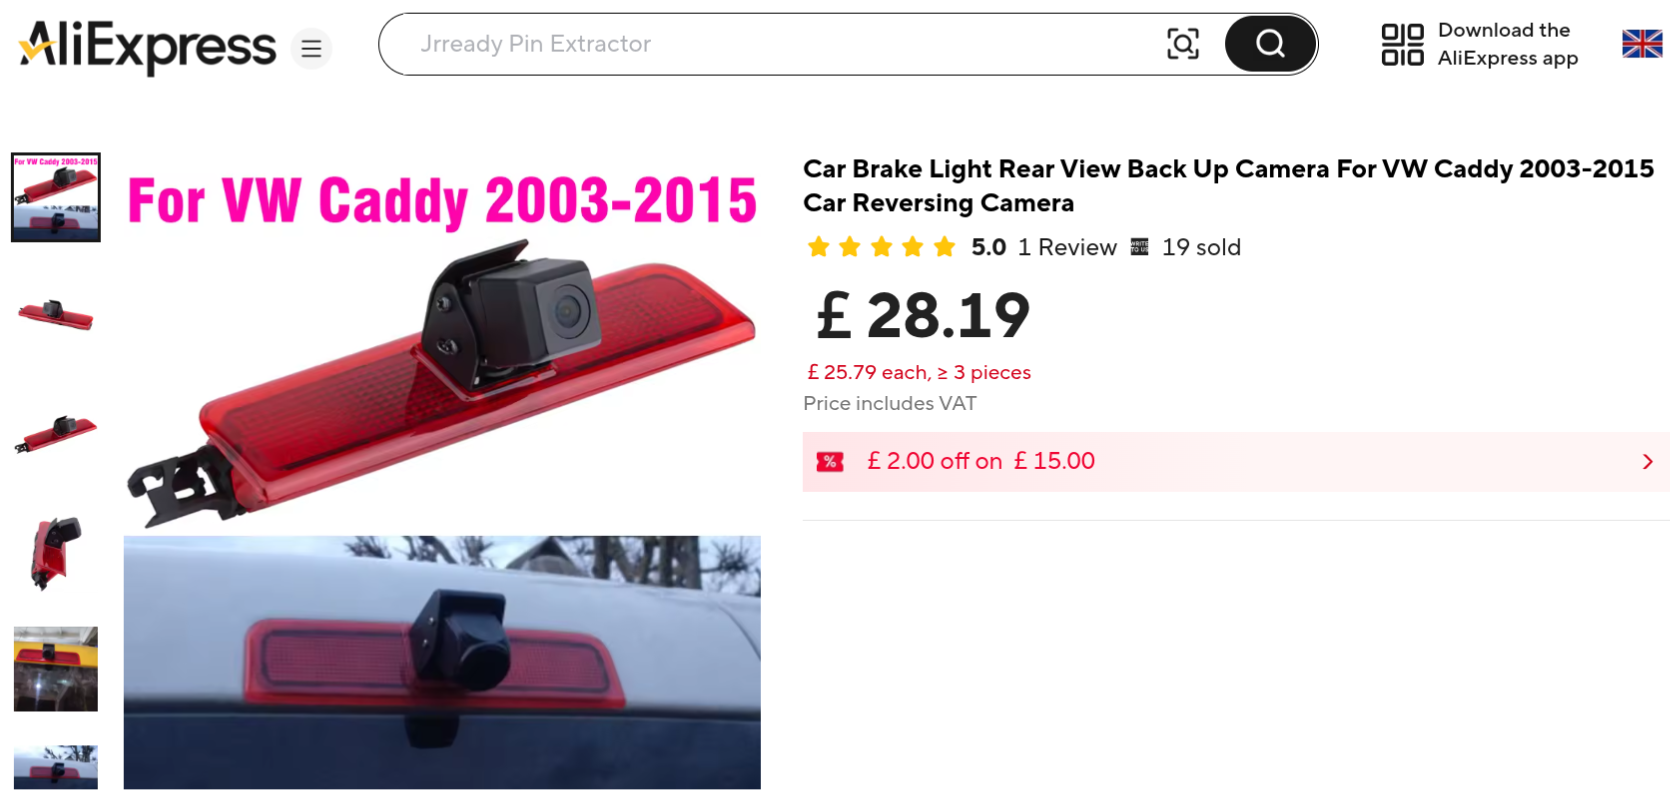
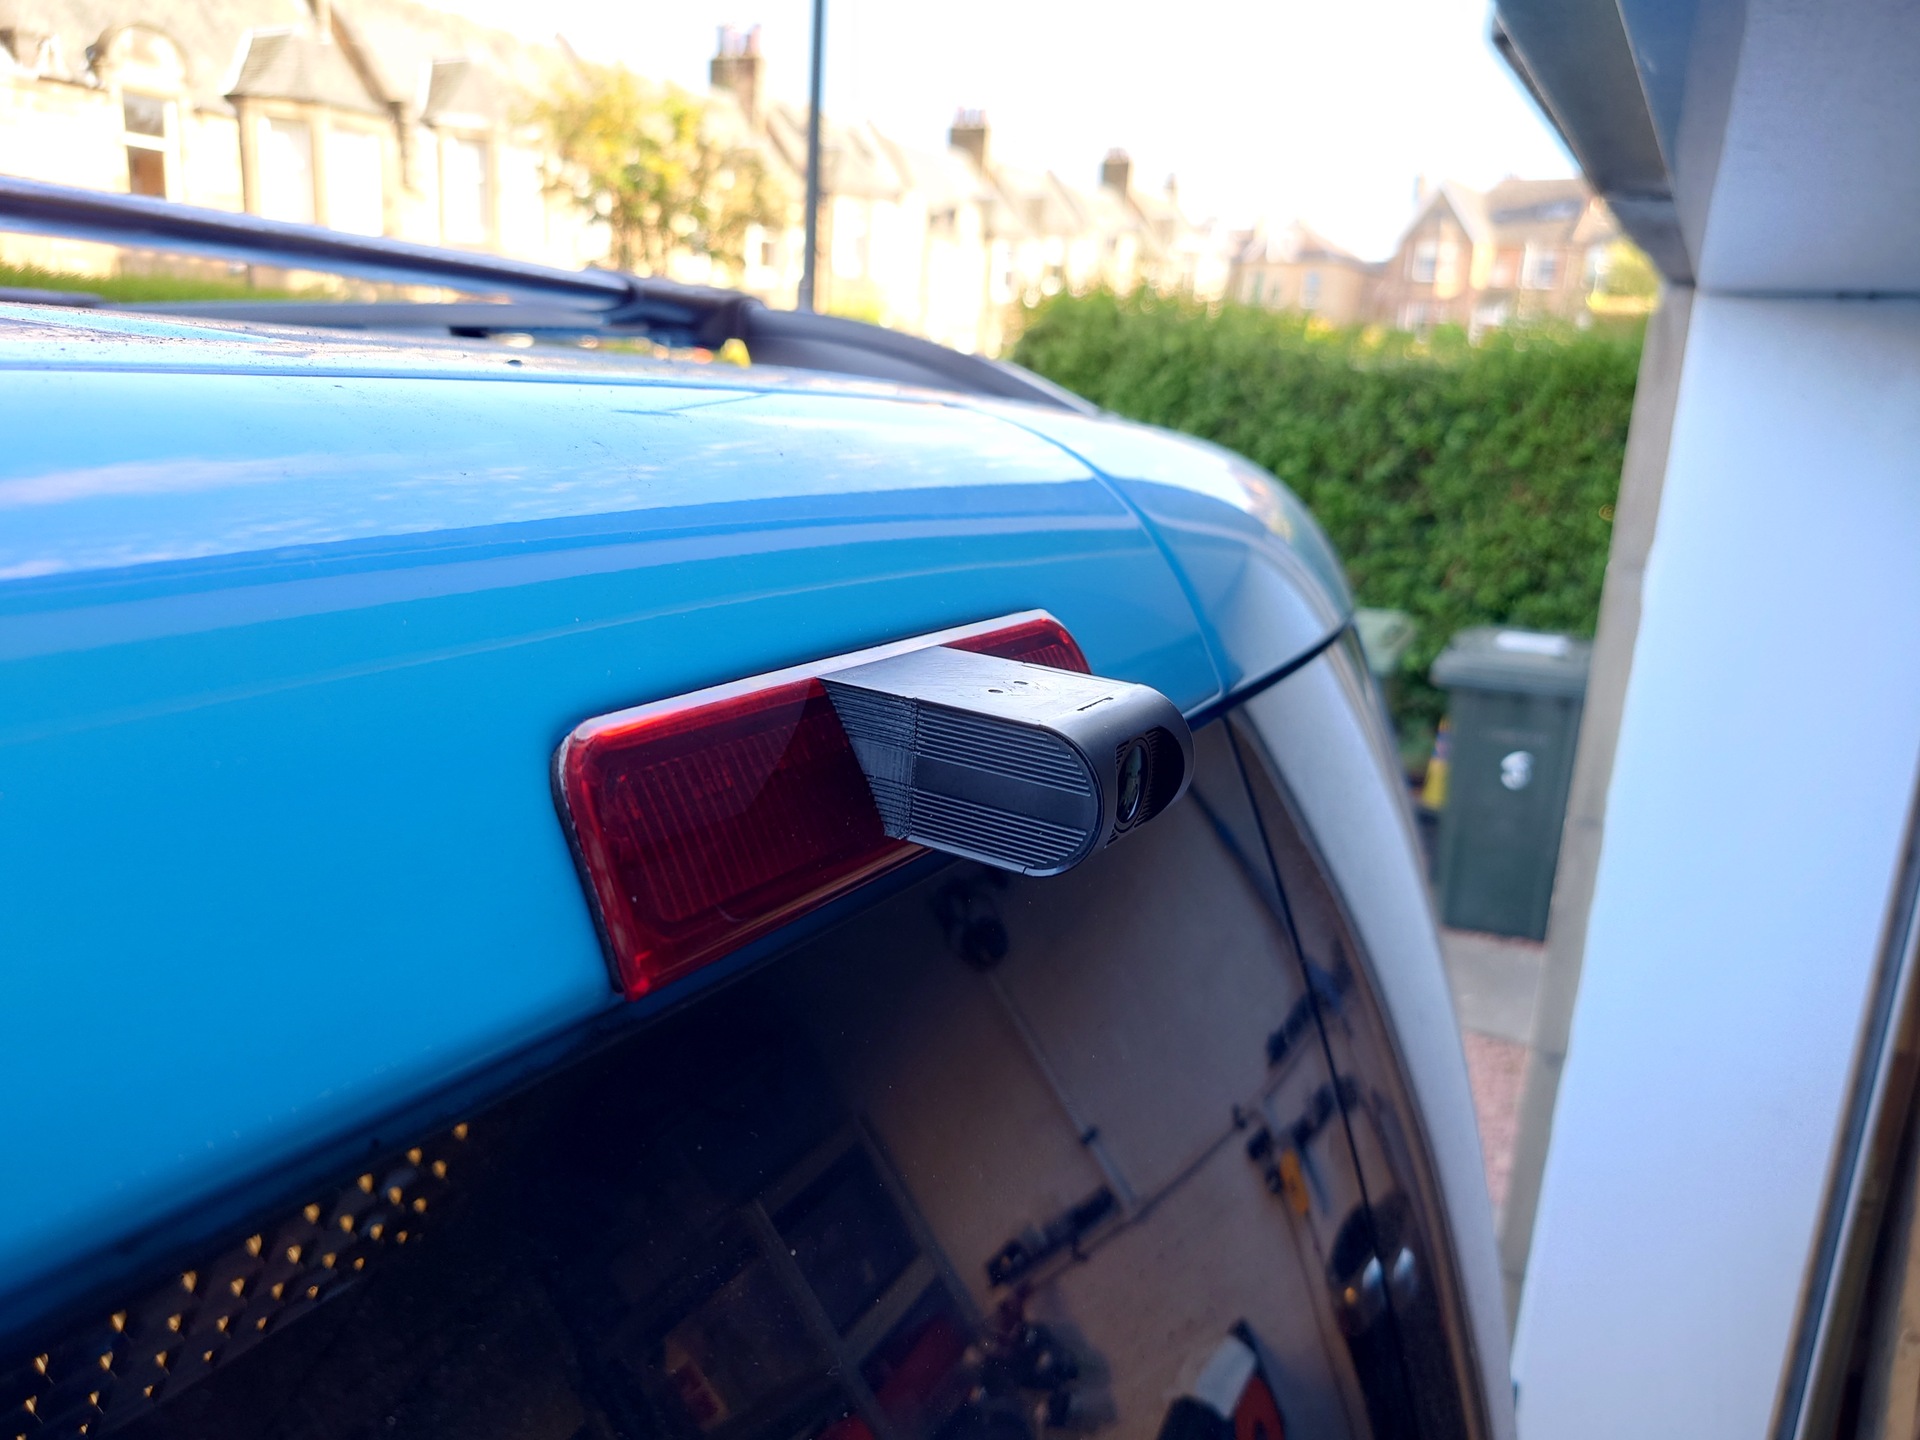
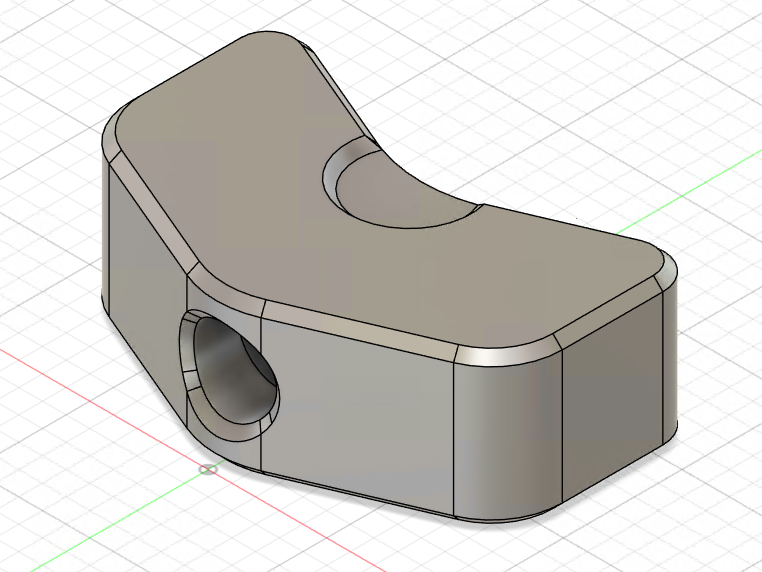
The camera that comes with the kit is designed to stick to the rear screen, assuming you have one, or above the number plate. I already have a camera here for the parking camera connected to the head unit, and besides, for the purposes of seeing rearwards, mounting it there is really lower down than ideal. Instead I decided to place it higher up, in line with where the real sight line would be, had it existed. It turns out that you can get aftermarket third brake lights that integrate a camera, specifically for this purpose.
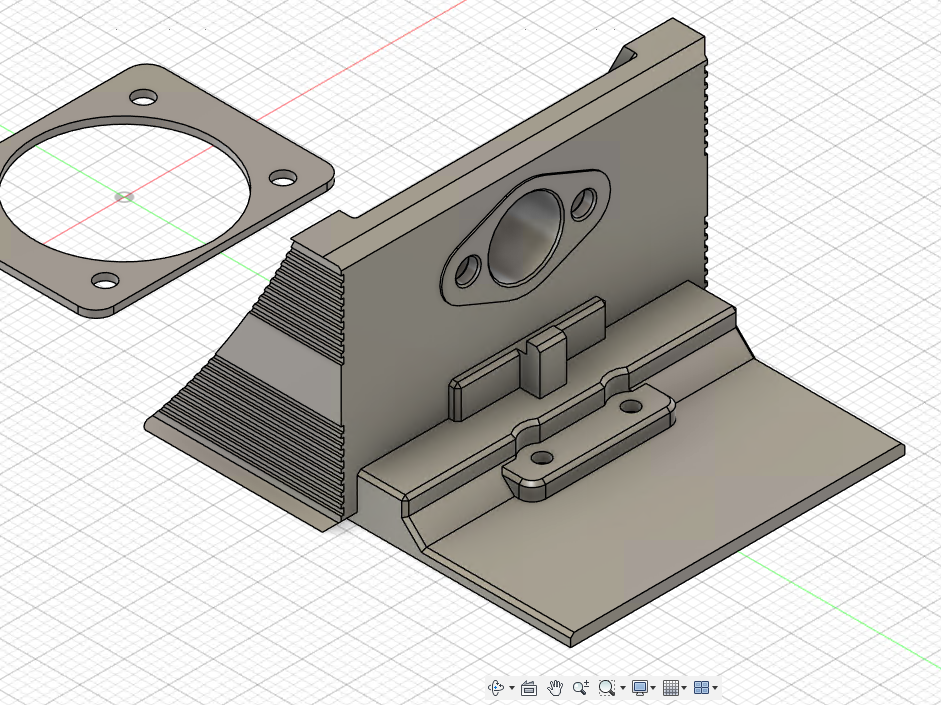
The quality of this item is… OK. It’s obviously been reverse engineered from the real thing then various measures have been employed to reduce the cost as much as possible. Now, I know from experience that reverse cameras are basically all 5 volt, S-video based affairs, so I probably could have managed to graft this camera into the wiring for the new one, but rather than risk this not working, instead I made an adapter that allowed for the new camera to mount to the third brake light housing.
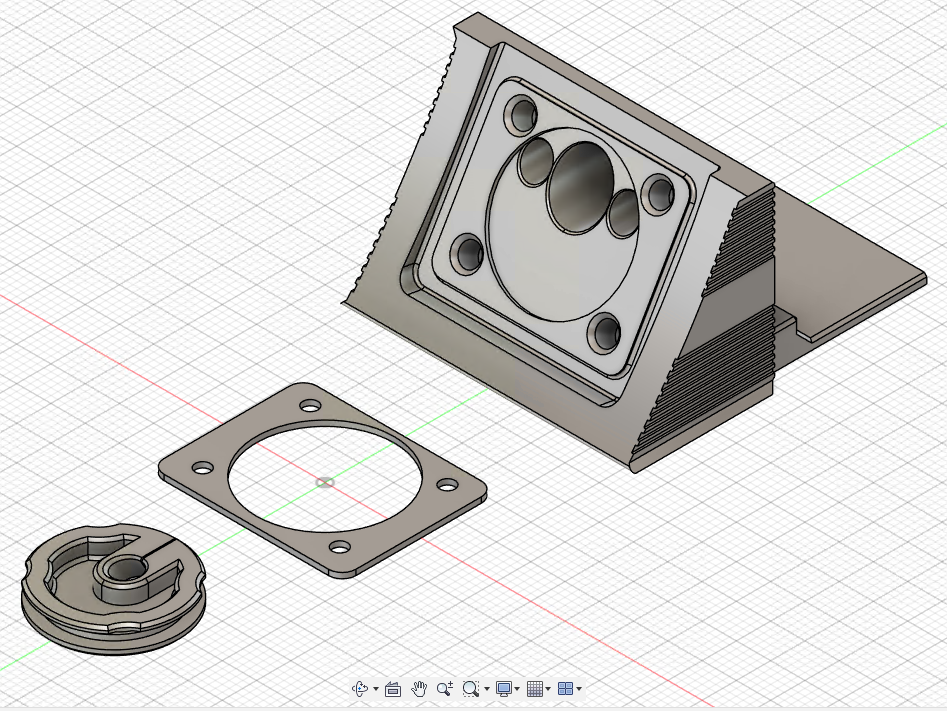
In addition to the adapter itself I made a TPU gasket and seal for the existing hole in the third brake light housing. When I eventually fitted this I liberally coated the interfacing surfaces with RTV silicone, hopefully avoiding any water ingress
The usual iterative process was employed and I eventually ended up with a functional prototype in PLA.
PLA, however, was not going to cut it. In addition to not really dealing with heat very well, PLA is also not especially stable under UV light, both properties that make it an unsuitable polymer for use in an outdoor context. Instead therefore, I decided to try printing it with ASA, a close relative of the more common ABS. These plastics don’t have the downsides of PLA, but unfortunately are a bit tougher to print. In addition to fuming slightly when melted, ASA and ABS basically require a heated chamber as otherwise printed layers cool too quickly and contract/curl to the point where they don’t adhere to the underlying layer; ask me how I know. Rather than replace my geriatric printer with something more modern that has an enclosure, I decided to upgrade what I had using a different means.
By simply turning the bed heater on and letting the printer “soak” for half an hour or so prior to printing, the temperature under the box rises to 45°C and ASA prints successfully, without issue. The only real downside to this approach is that by enclosing the entire printer, there is a slight risk of cooking its electronics, but in the grand scheme of things it’s a pretty low risk.
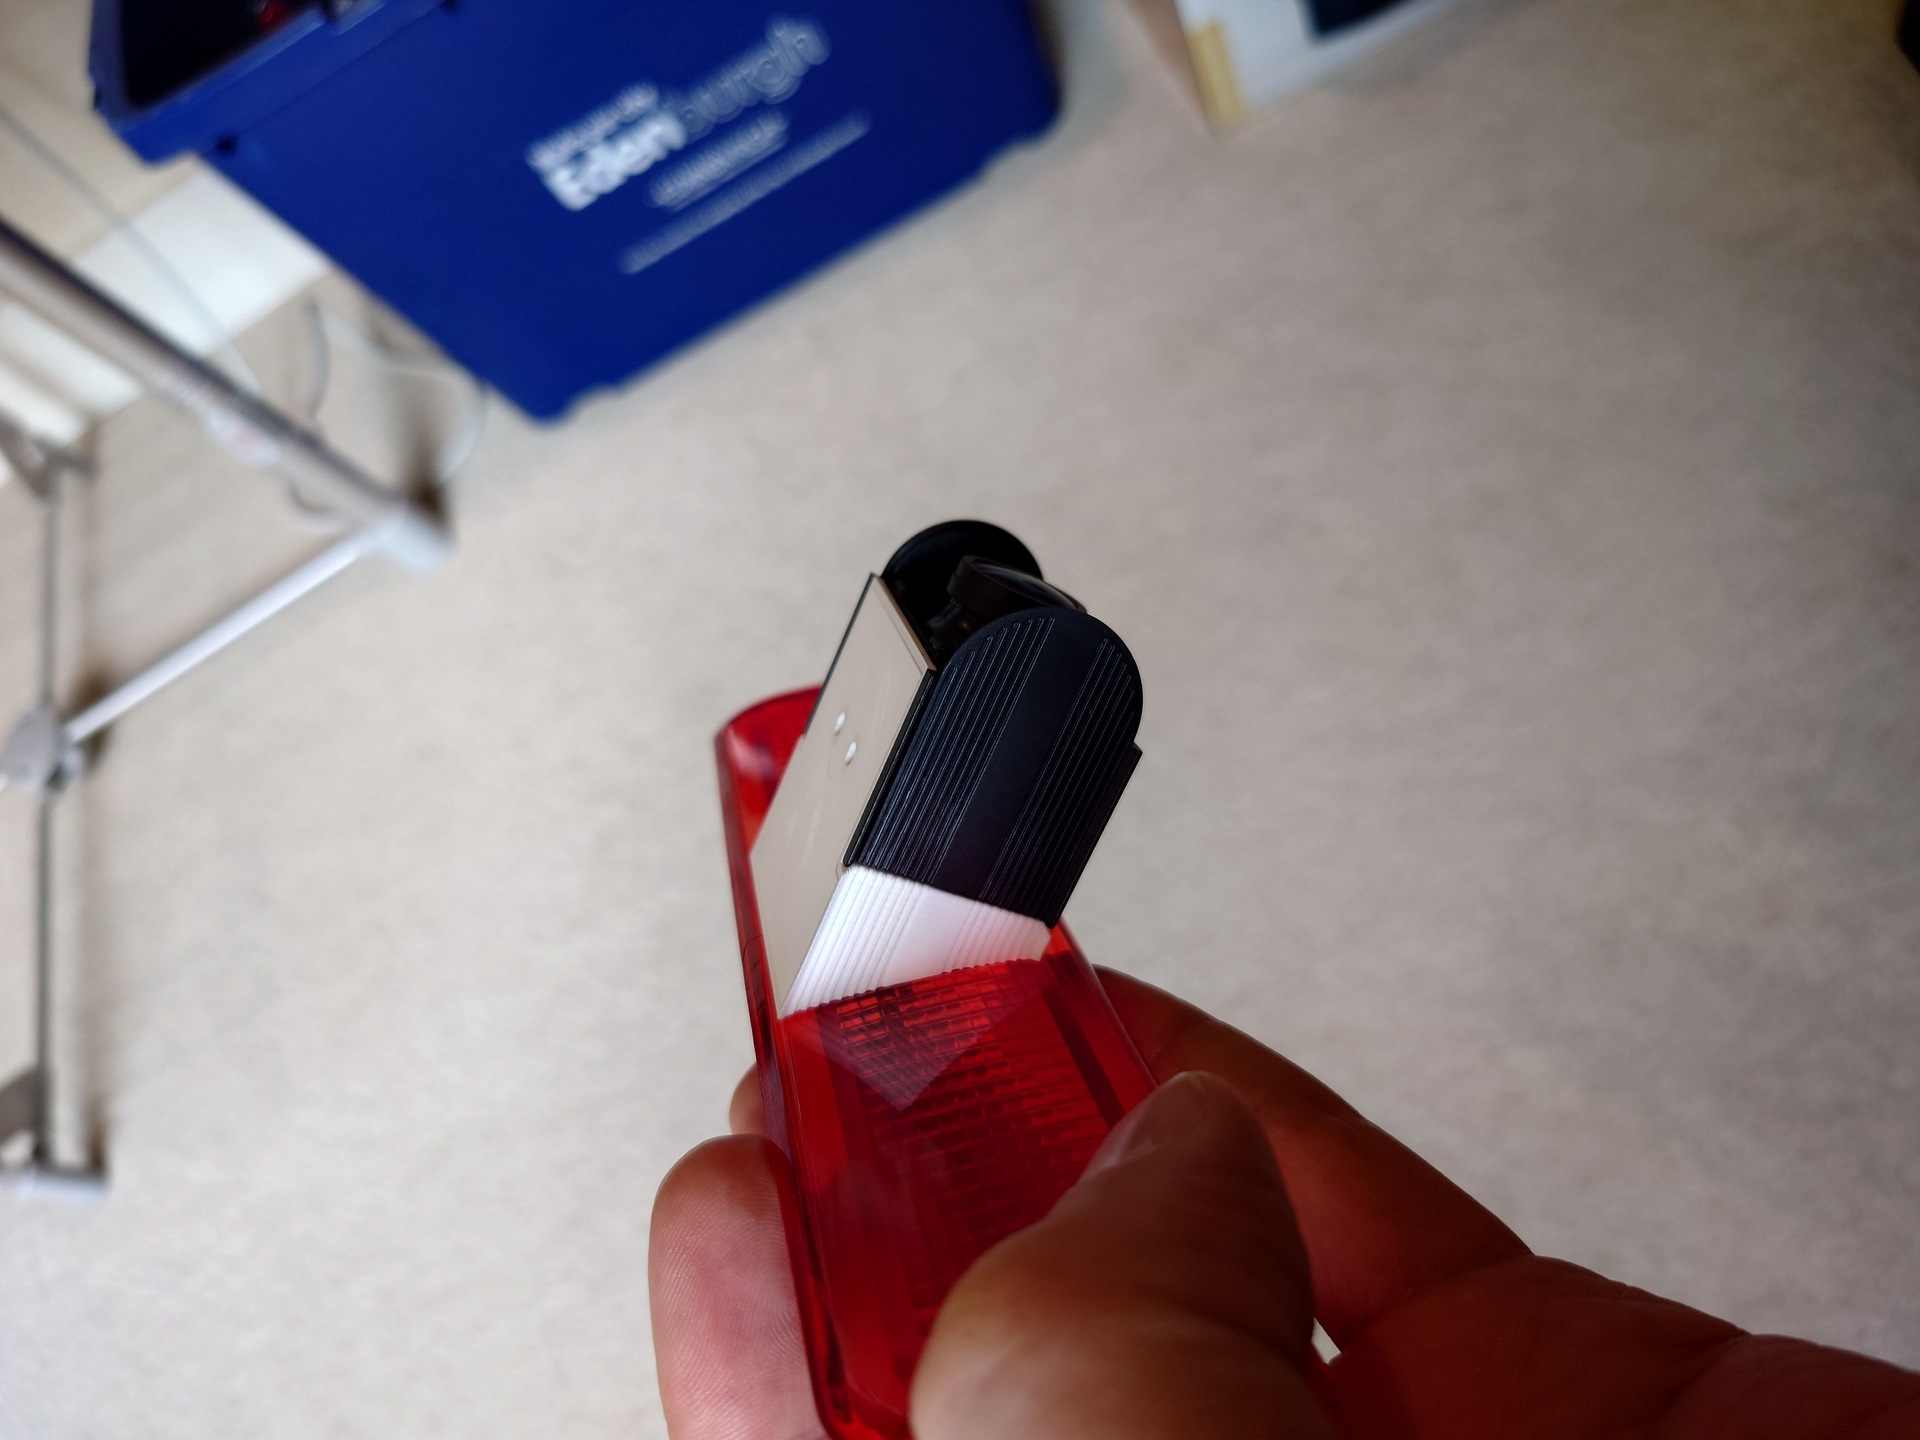
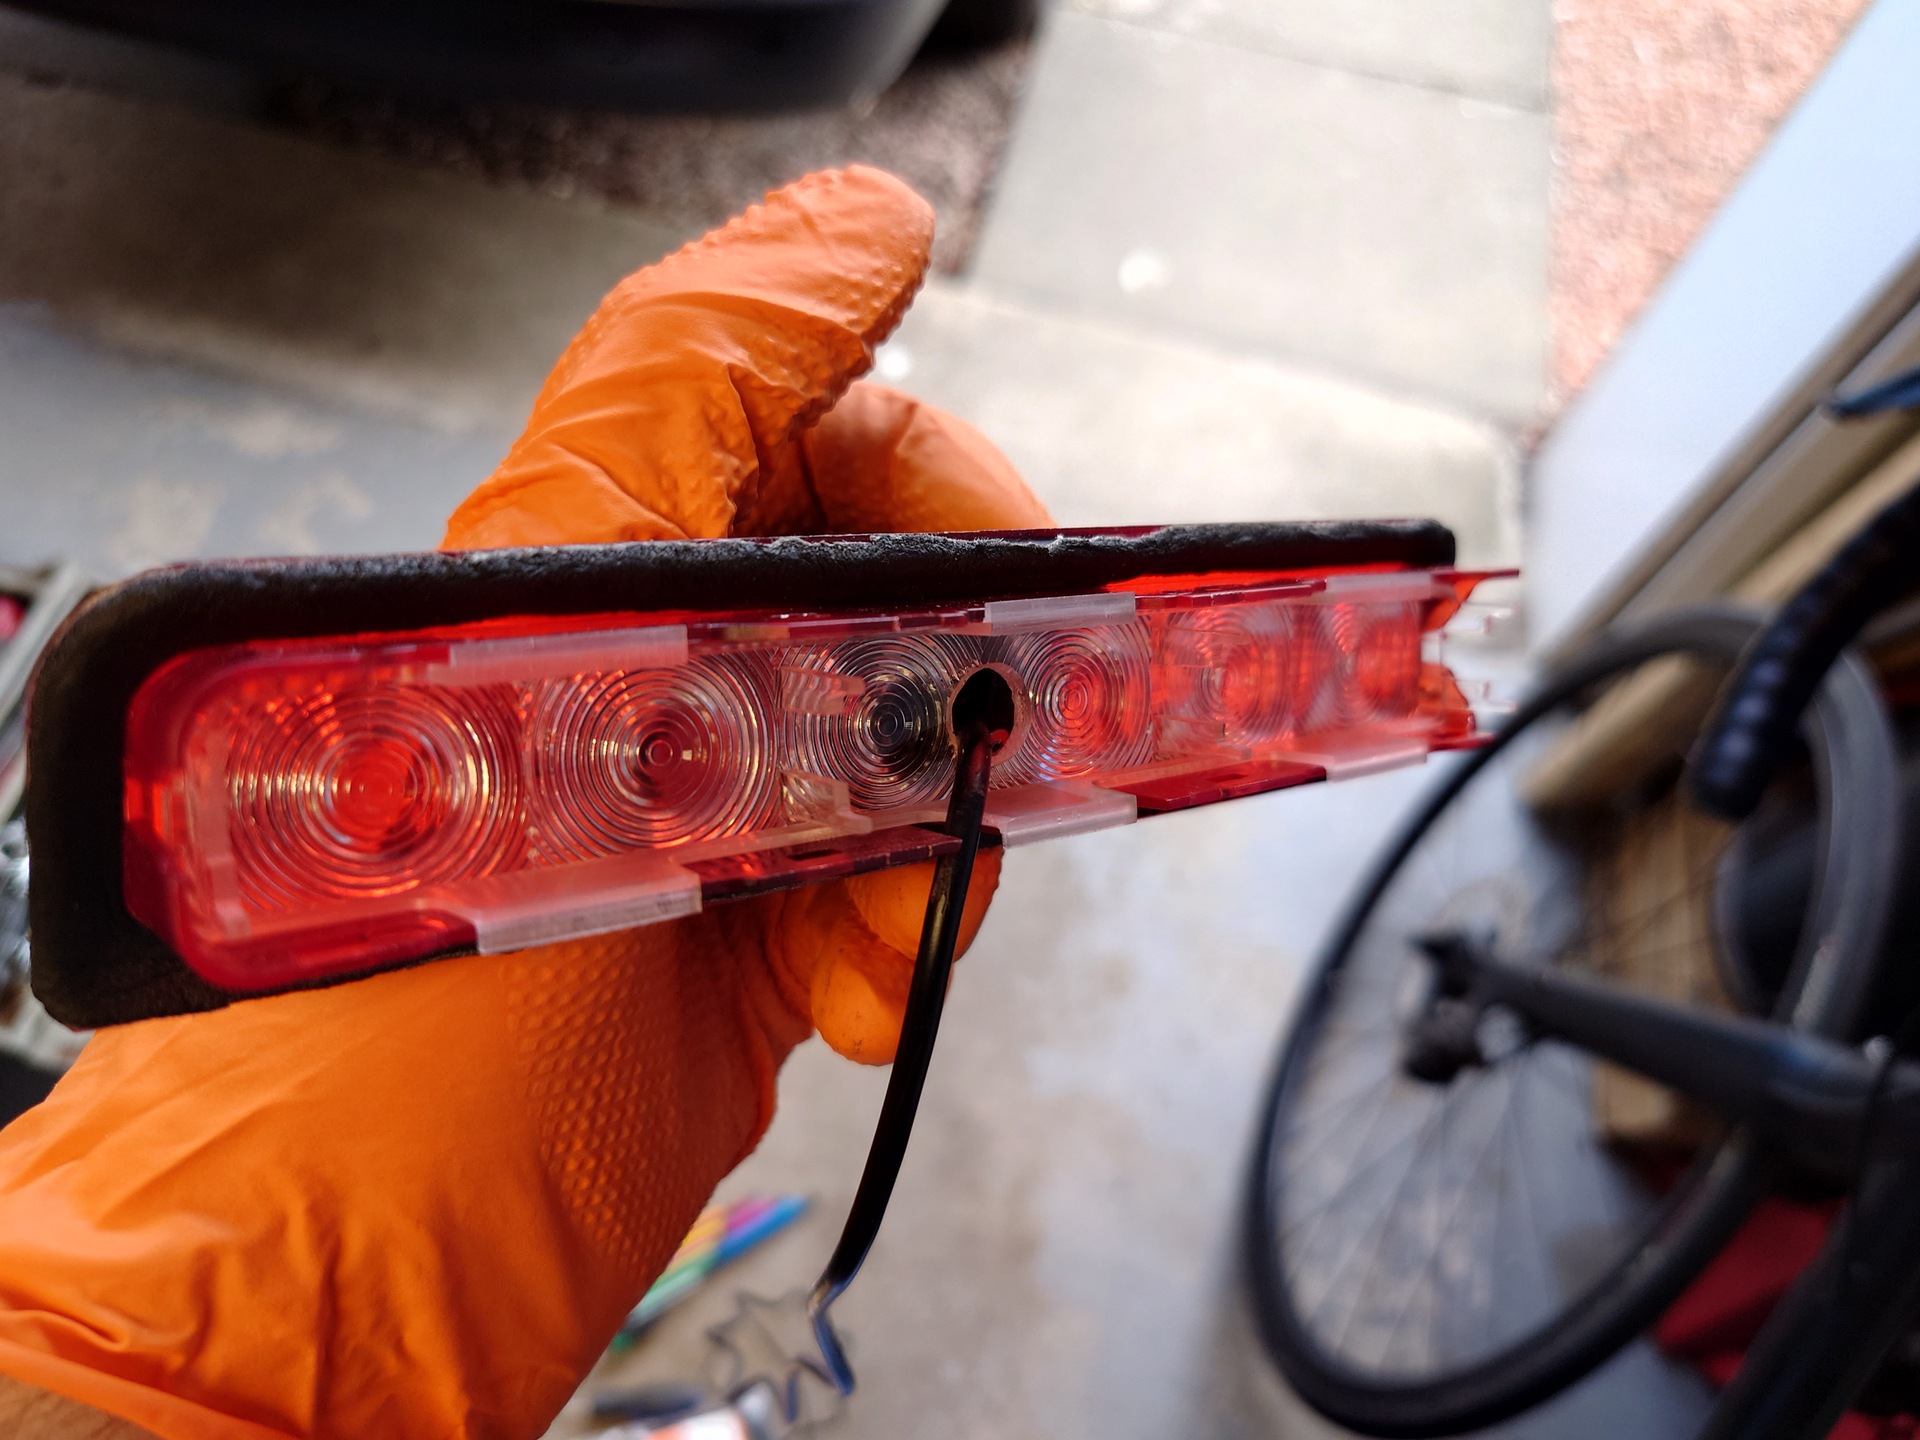
In addition to the other components I also made this tiny little shim that glues to the connector socket of the brake light housing. This compensates for the extremely loose interface that presumably results from some injection moulding related failure.
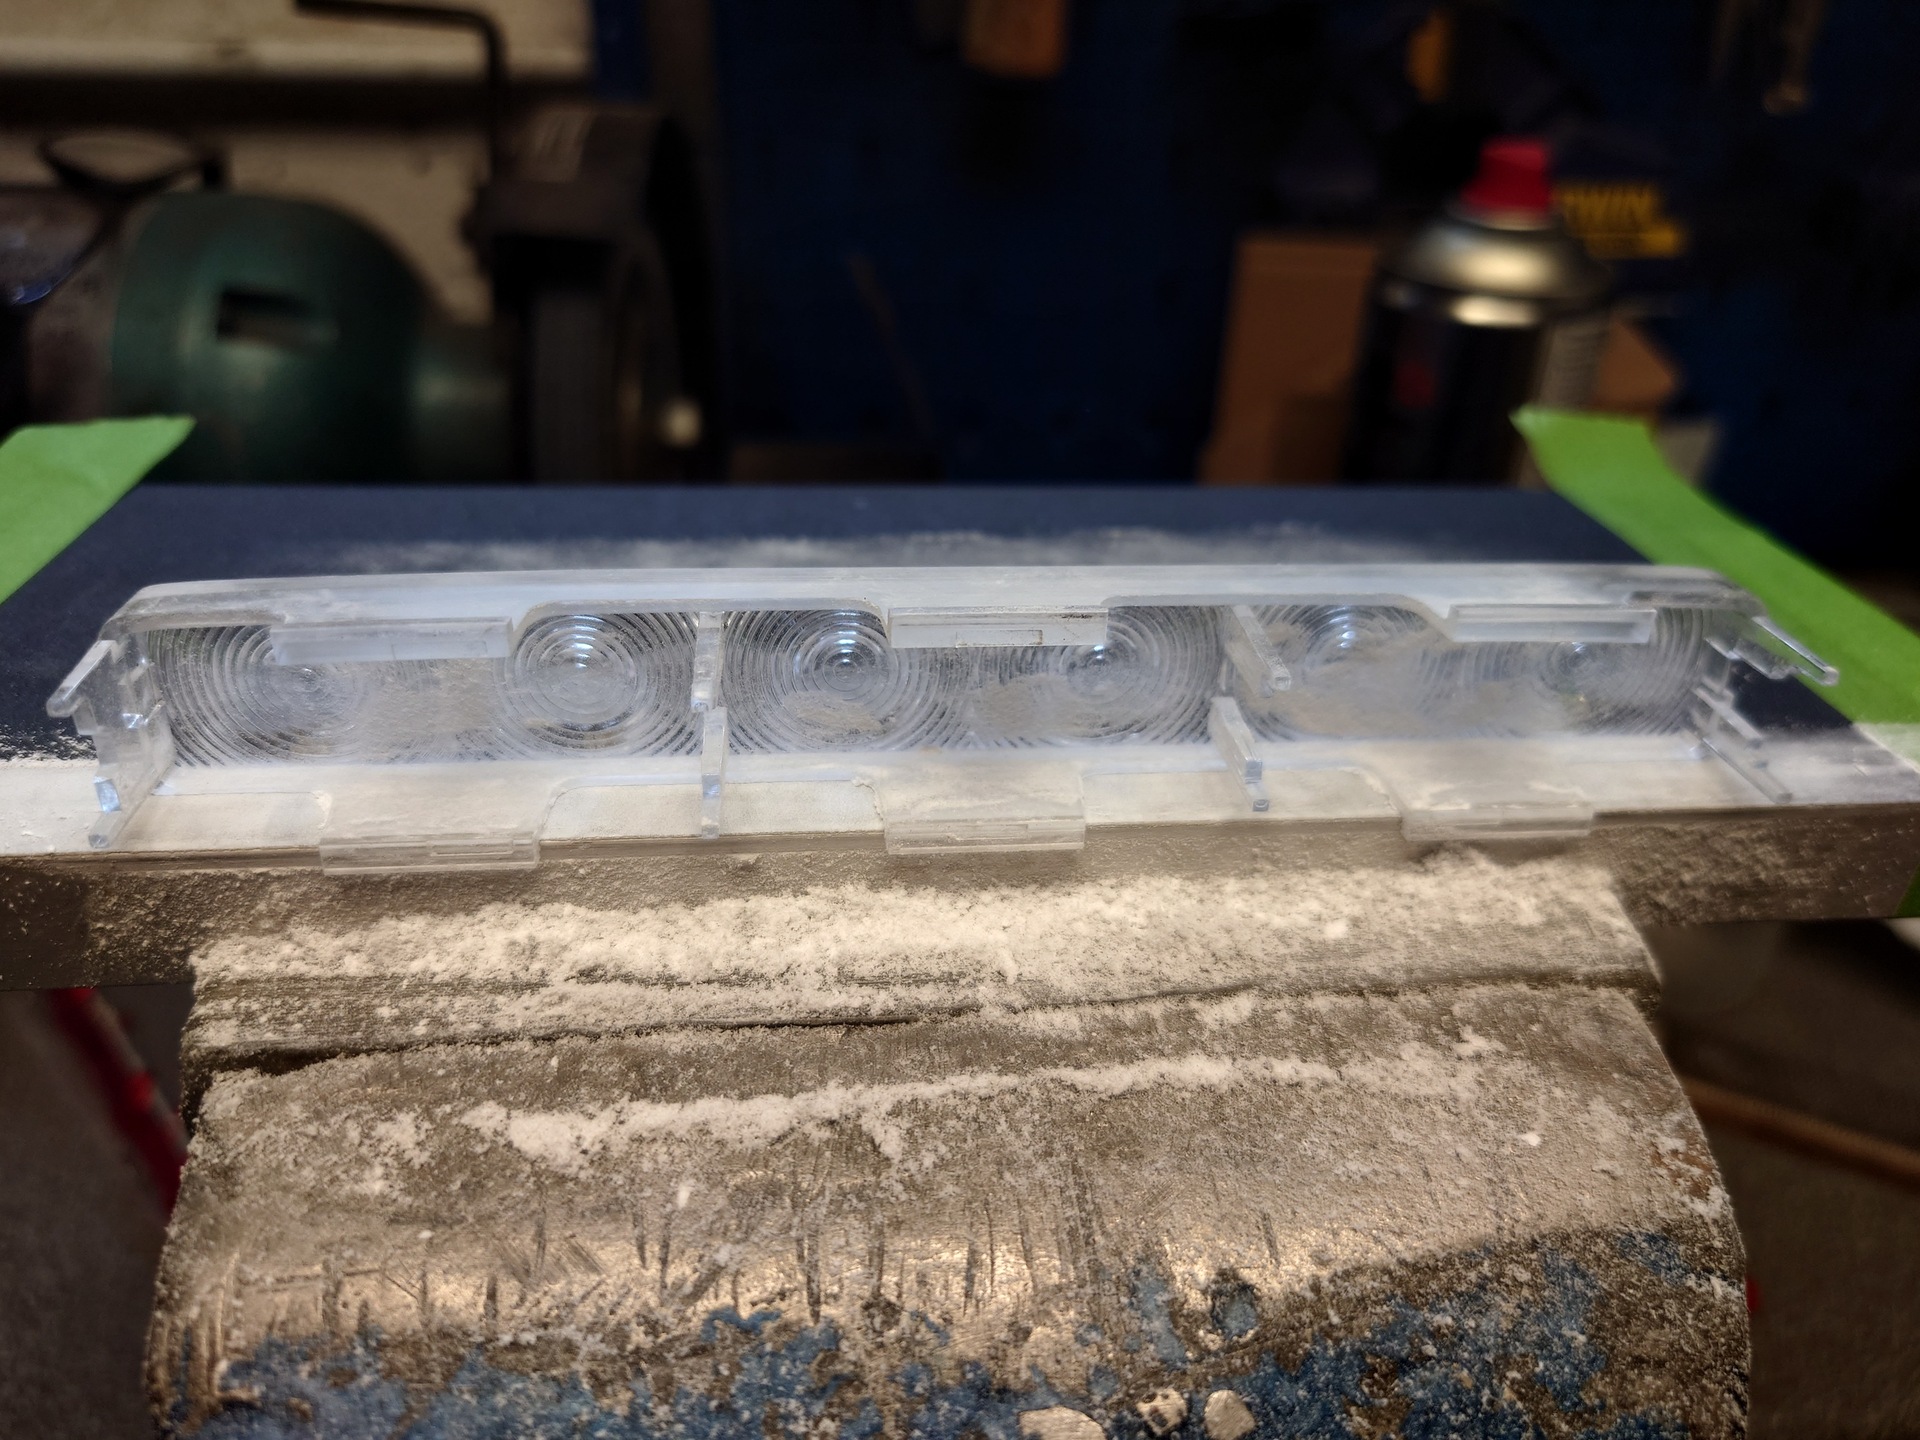
In addition to the poor injection moulding, another shortcoming of the third party brake light is that the fresnel diffuser is completely absent, meaning that when the brake light is activated you see each individual LED quite distinctly. I’m not particularly bothered by this myself in that unless something has gone horribly wrong, I’m unlikely to be looking at my own brake lights. On the other hand, my friendly local MOT inspector may not see things quite the same way, so I took the diffuser from the existing brake light and carefully modified it via sandpaper to fit the new housing, because obviously it can’t be easy and just slot in to the knock-off.
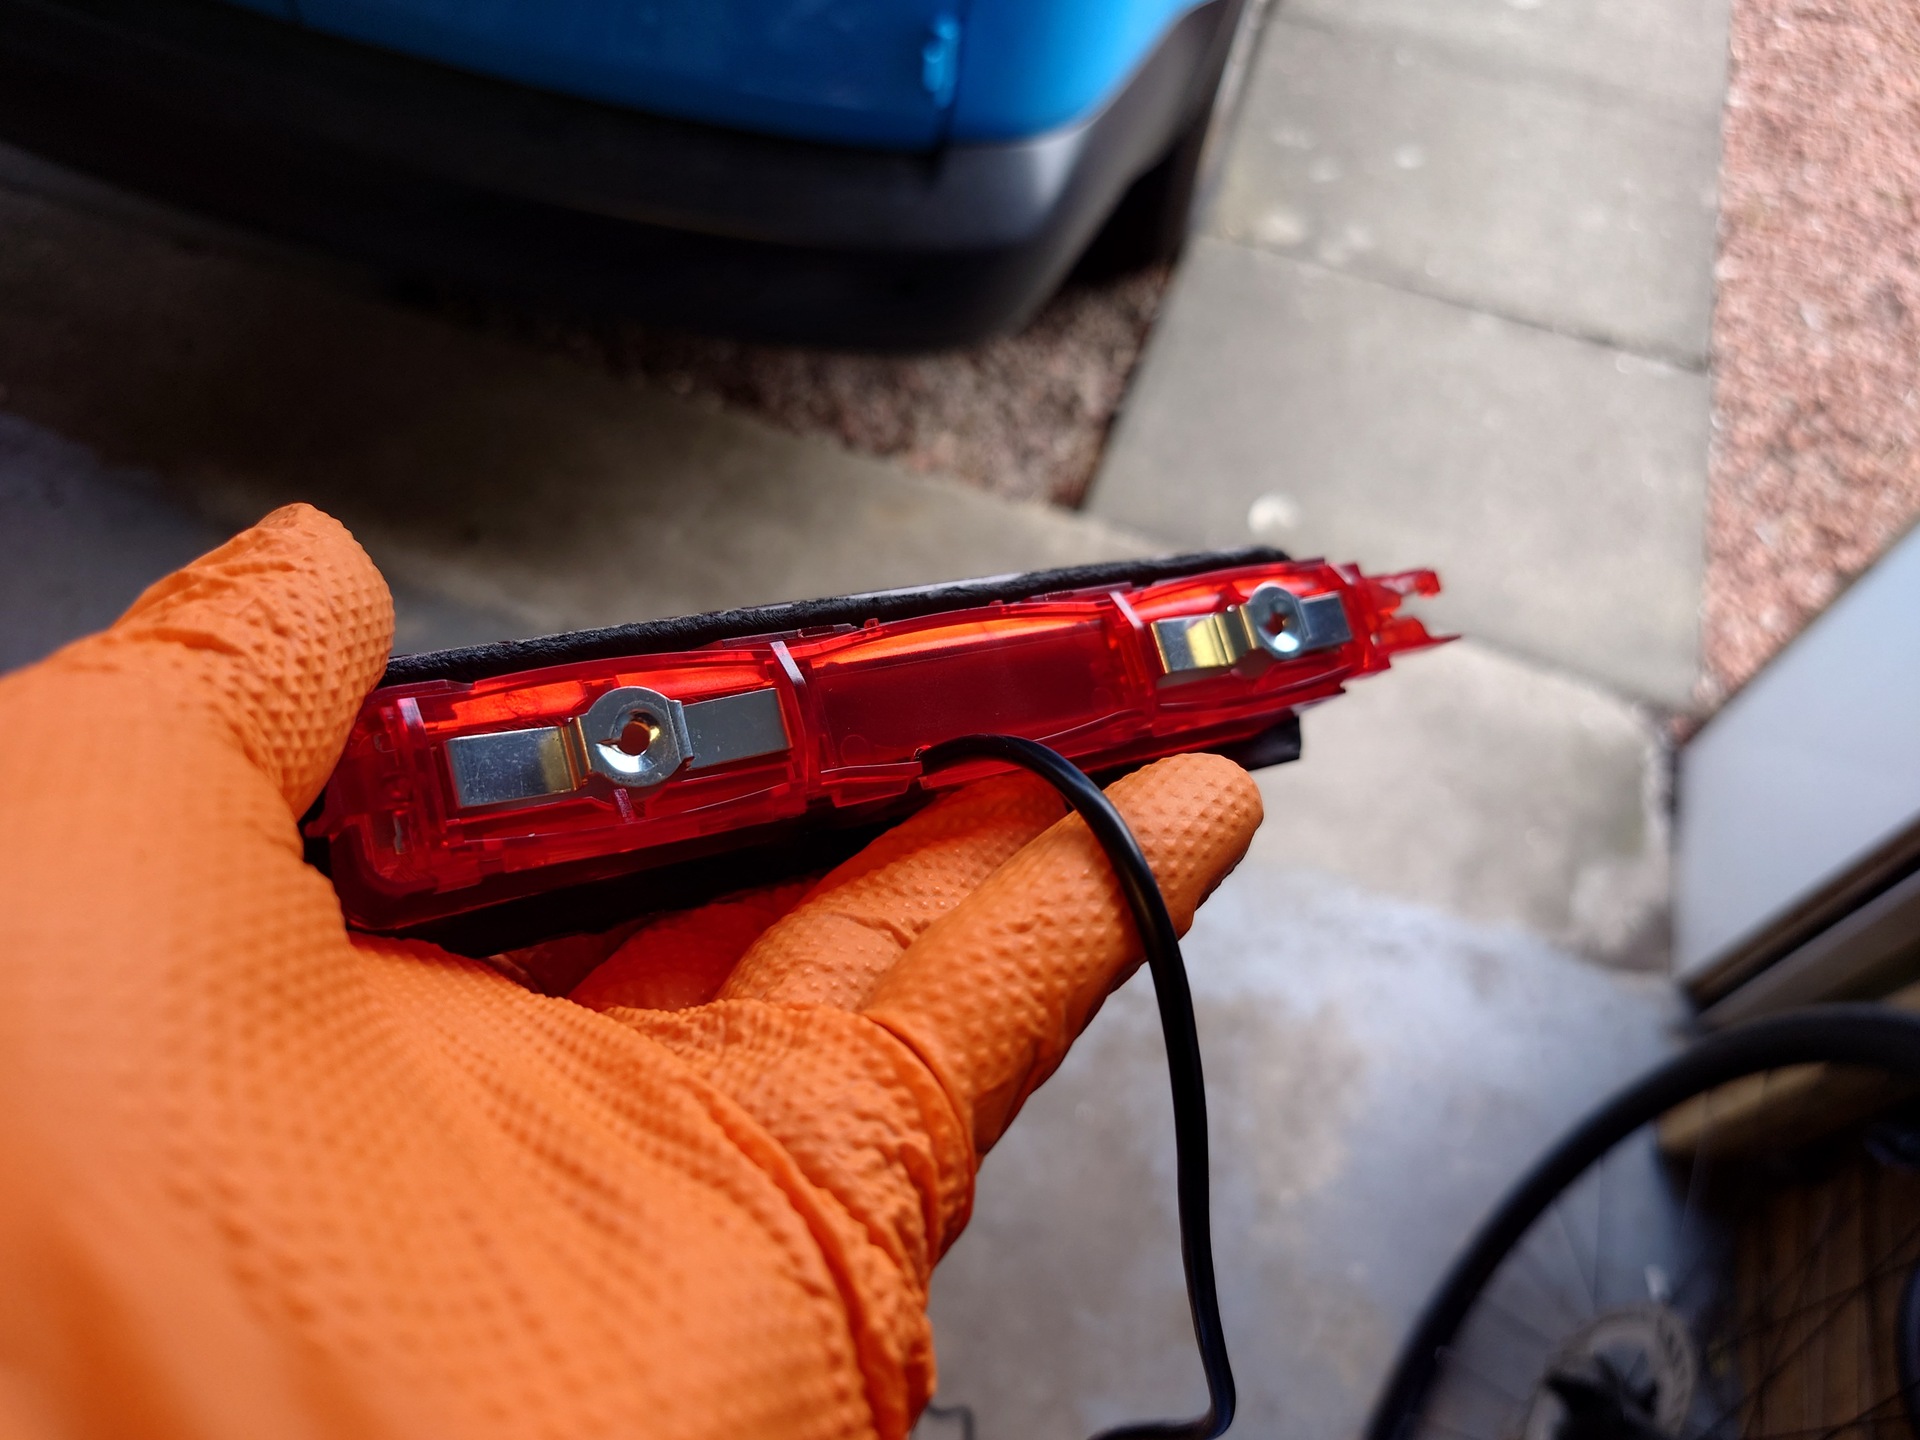
It needed a bit more finagling with a heat gun to bend some of the assembly tabs into places they now needed to be, and the metal mounting plates from the original light needed some modification to fit the new one, but eventually a cobbled together solution was arrived at, and the whole thing fitted to the rear door of the van.
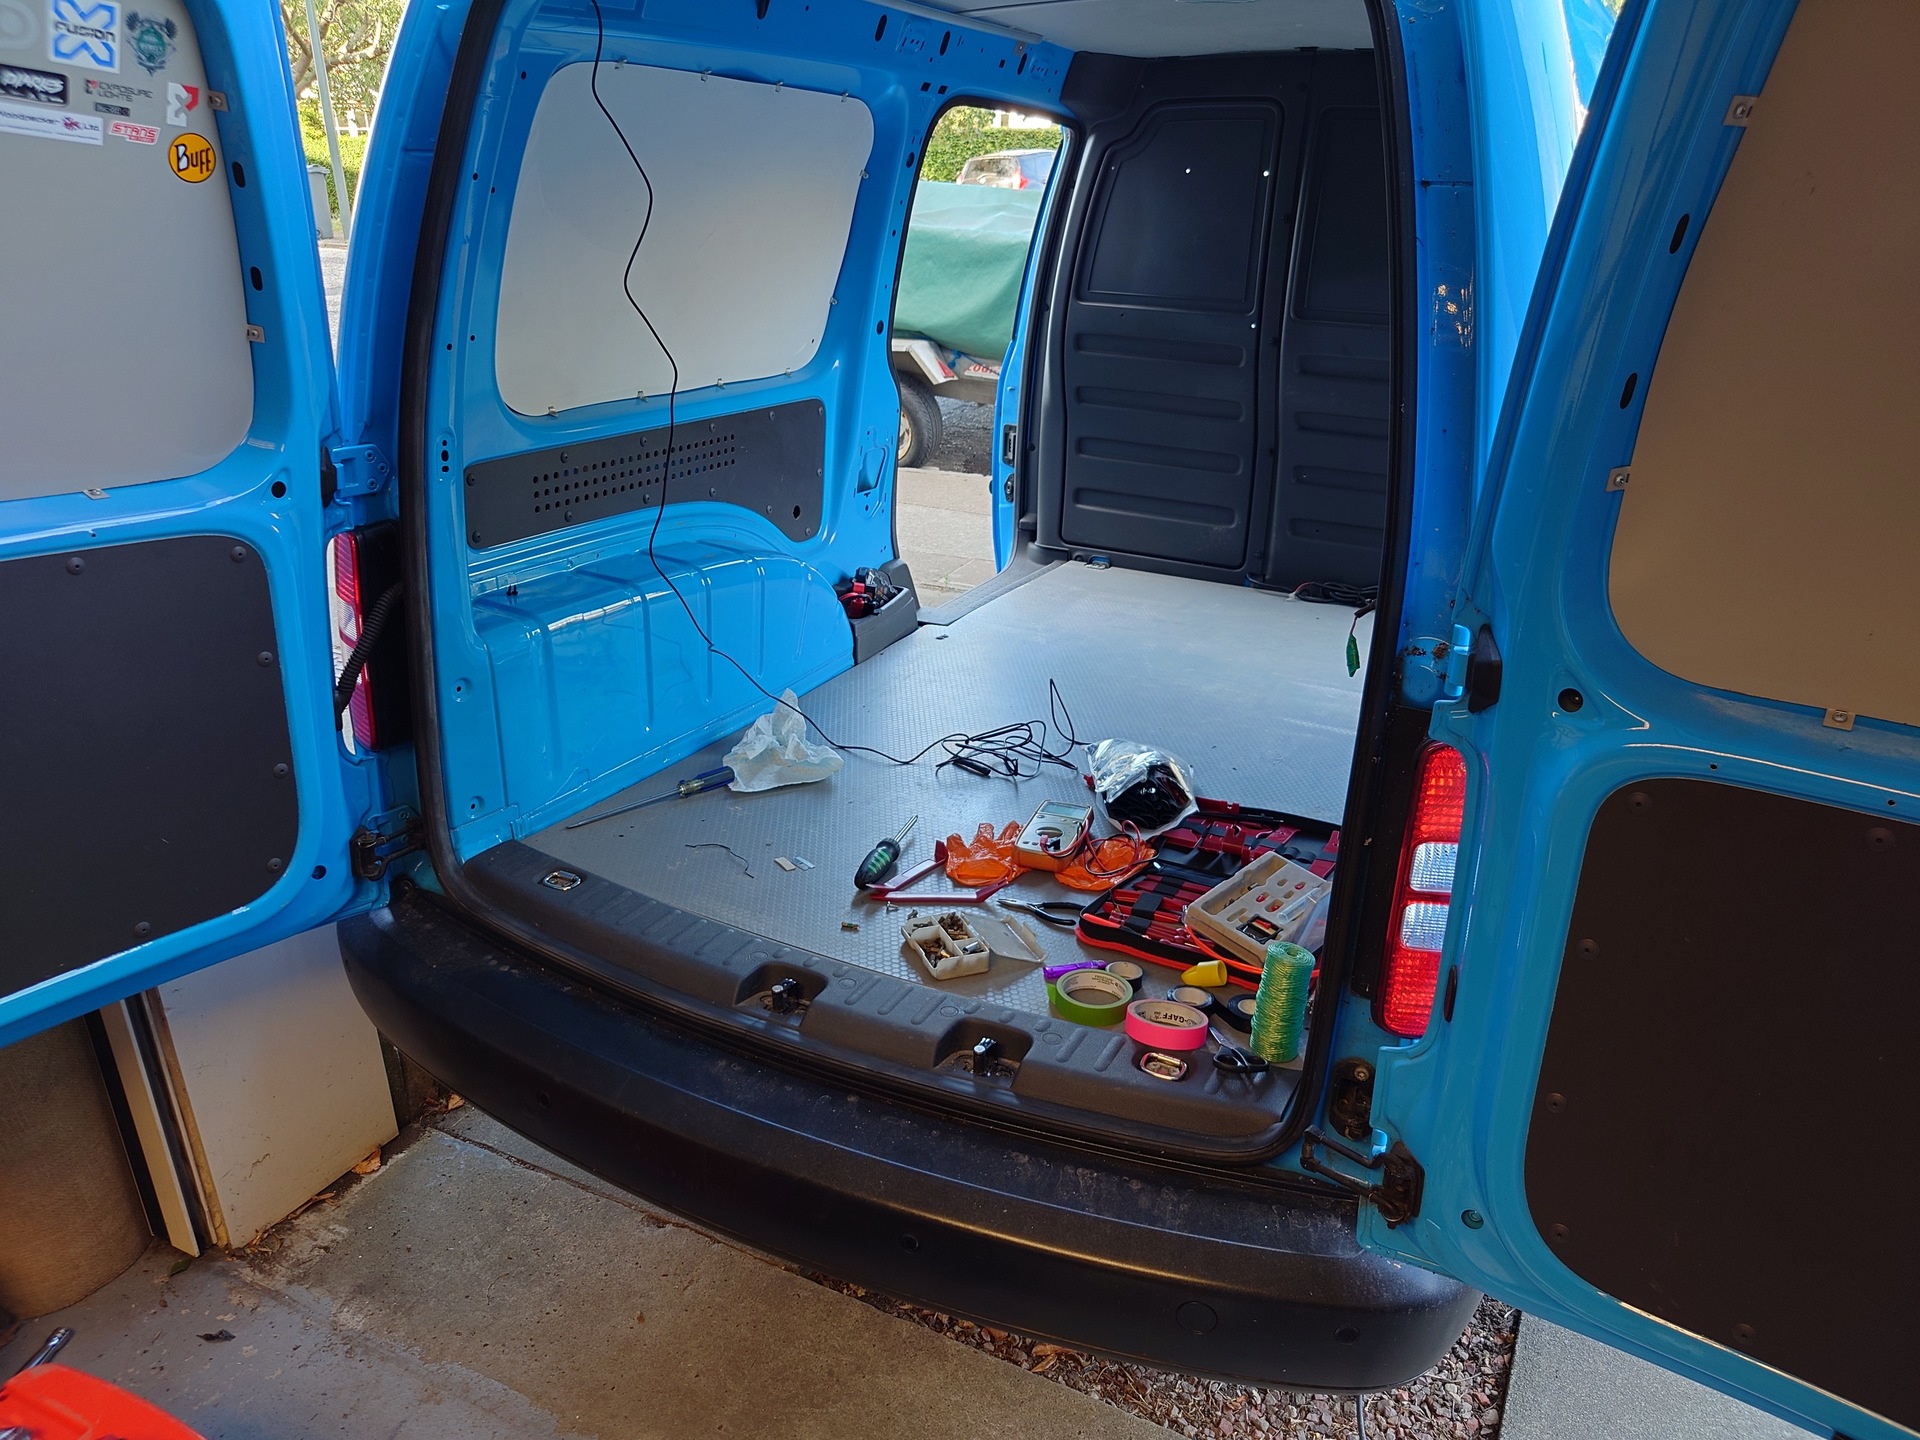
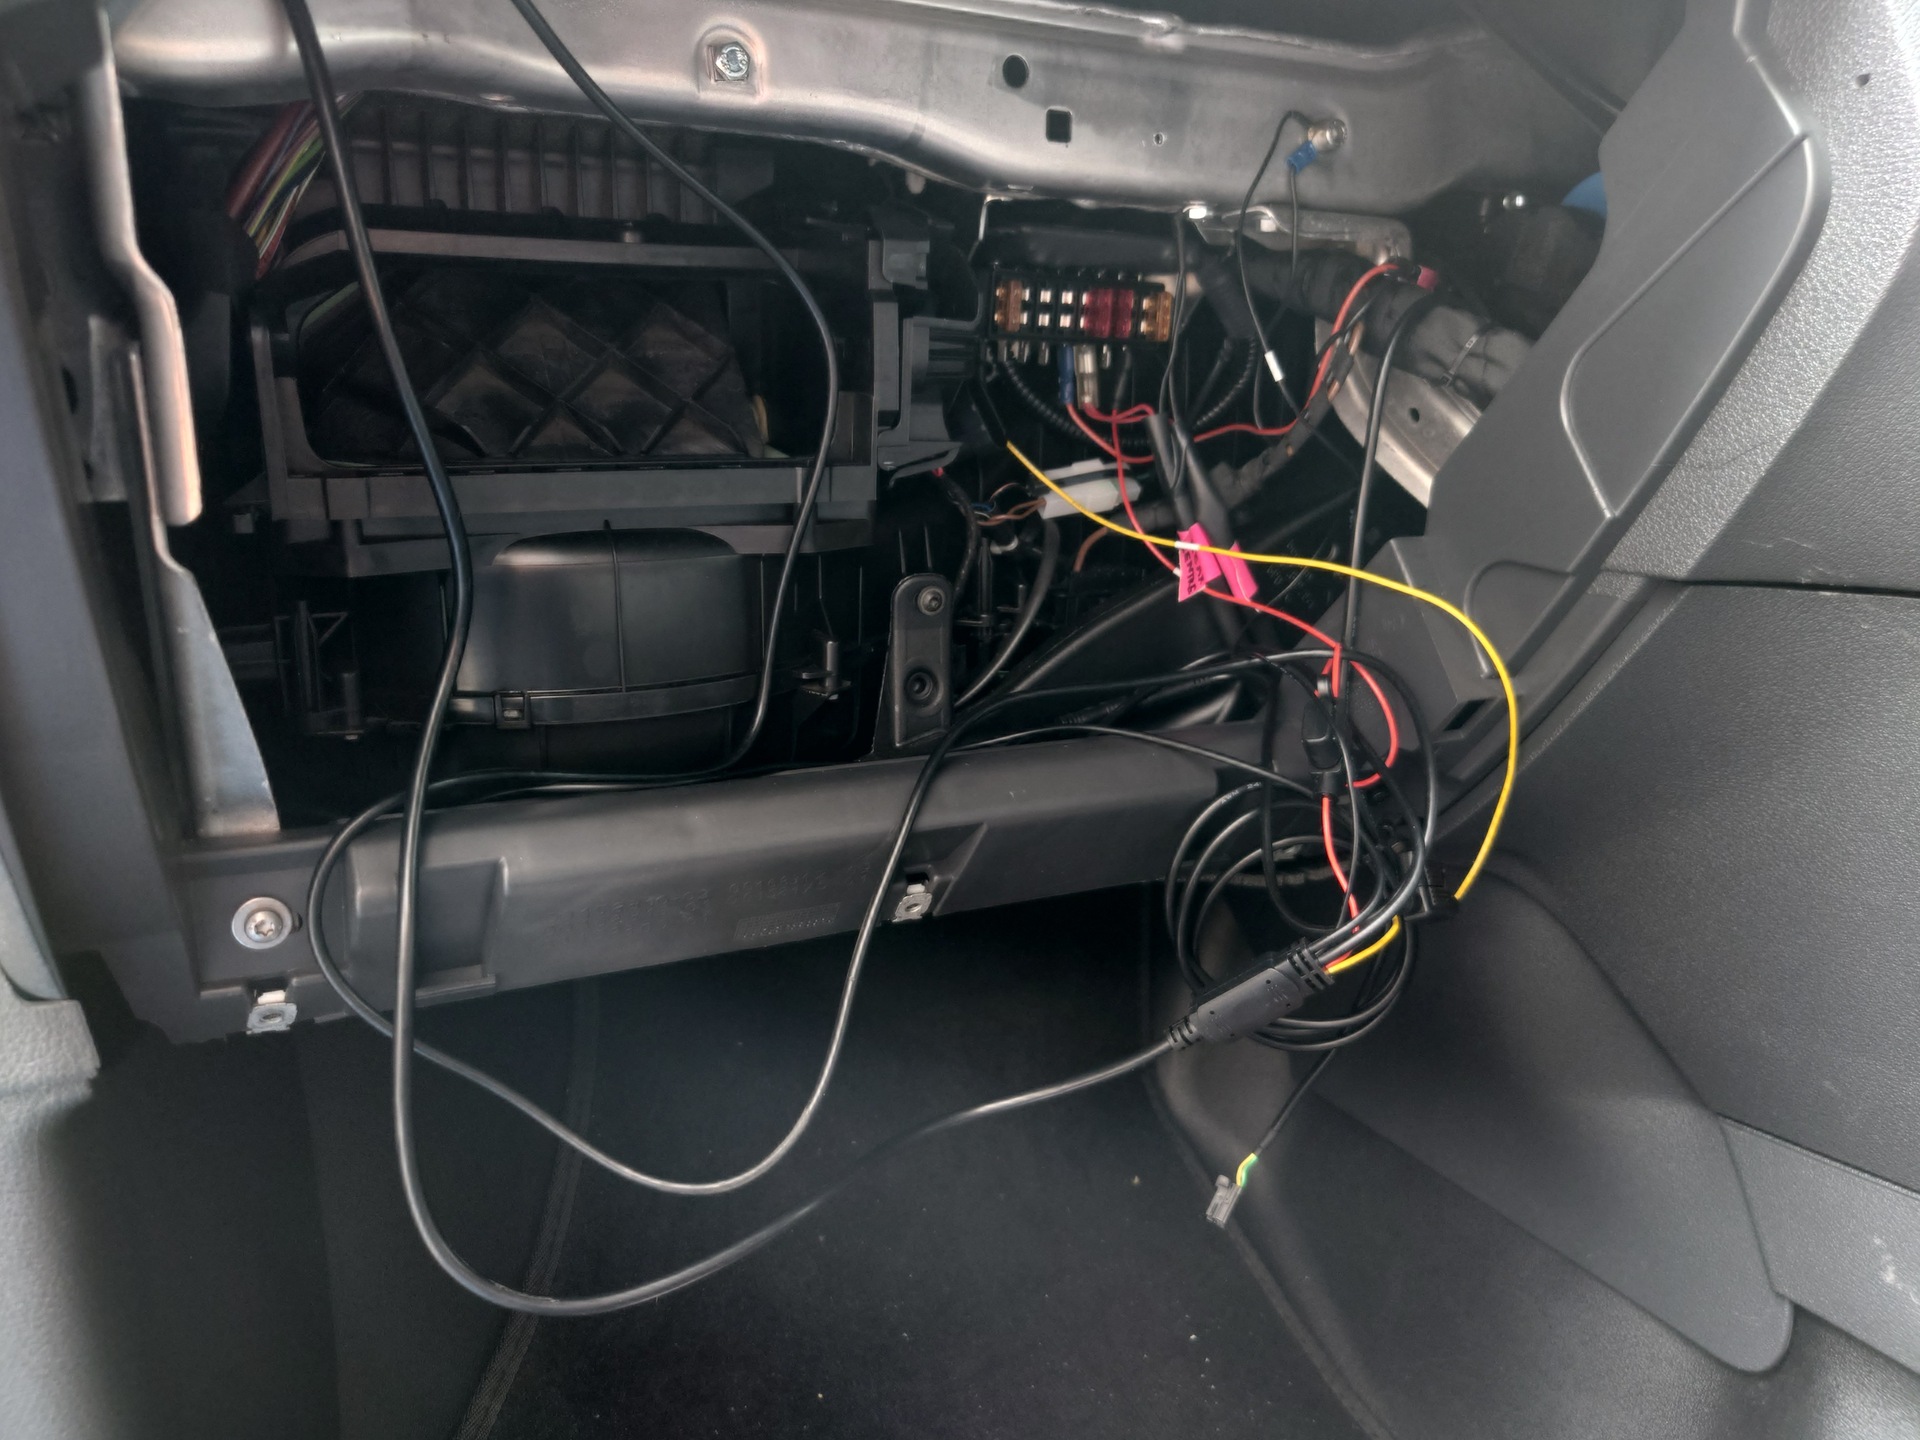
Thereafter it was just a case of feeding the wiring through the body, sacrificing the normal quantities of knuckle skin while uttering the necessary traditional four-letter Anglo-saxon incantations. Annoyingly in doing so I obviously tugged on the cable a bit too hard at some point, because the connection to the rear camera proved unreliable. Either that or the cable was defective from the get go, and indeed that was my story to their very responsive support team, who supplied a replacement cable free of charge. The only downside here was they had no UK stock, so I had to wait a frustrating few weeks while one was shipped from China.
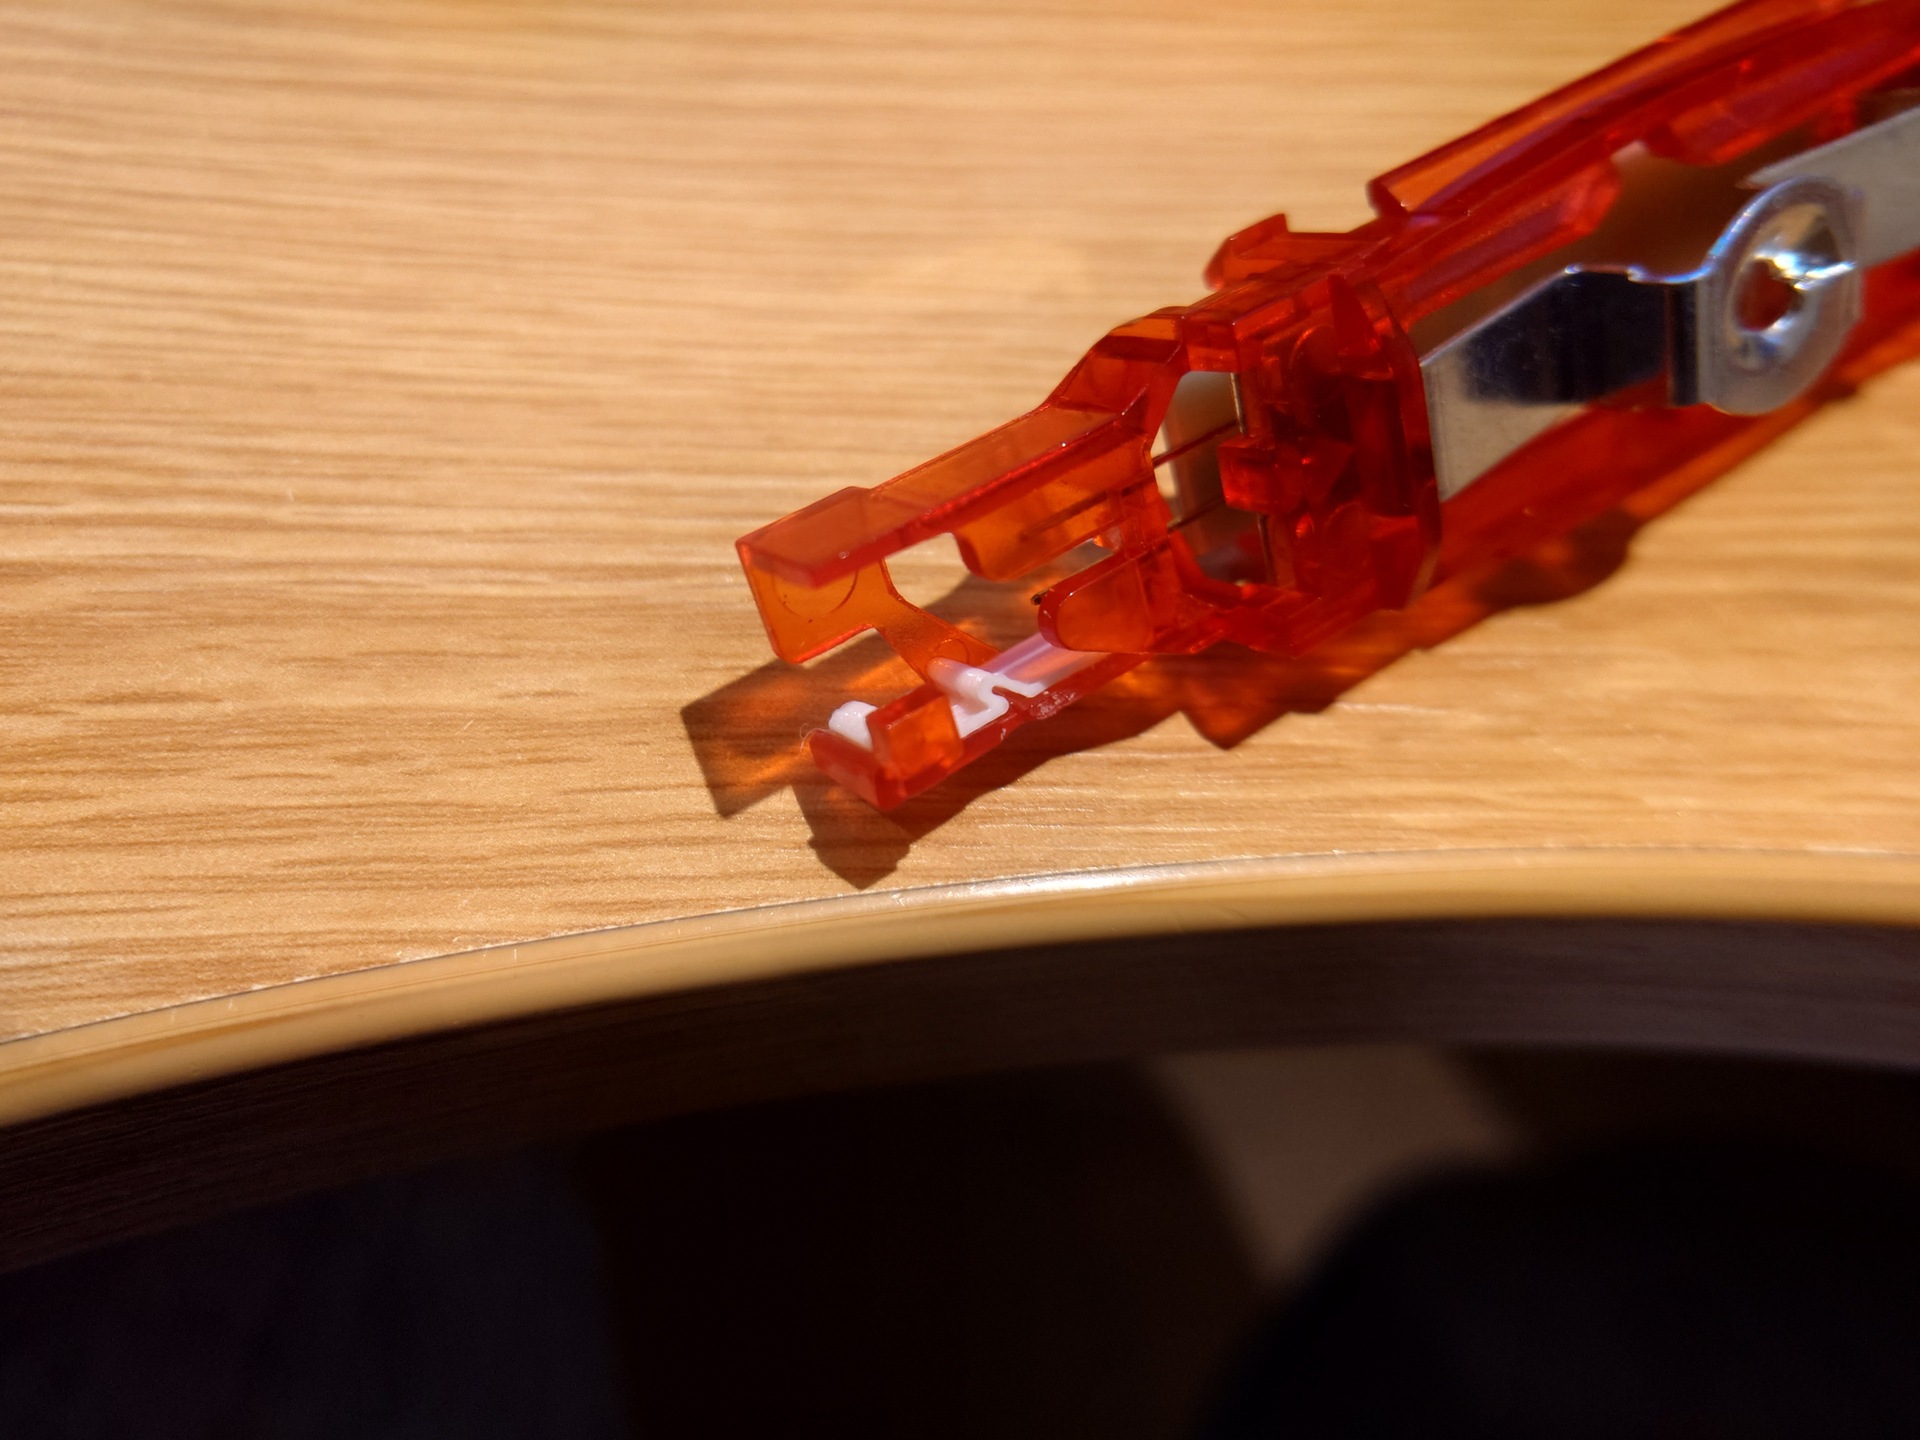
Auto-Vox’s solution to patching the wiring in your vehicle is to provide connectors that resemble a standard automotive fuse, and have a socket in the back where the fuse the connector replaces piggy-backs. This seemed like a bit of a kludge to me and anyway, as an ex-British Gas van it has a very convenient supplementary fuse block with spade connectors, used to power the panoply of extra peripherals that adorn British Gas vans. So instead I chopped off the fuse connectors and replaced them with crimped on spade sockets.
As far as mounting the mirror itself goes, it’s a universal fitment affair, complete with a range of adapters to suit various vehicle manufacturers’ mounting solutions. I followed the instructions for a VW and found that while it worked, the mirror had a tendency to jiggle a bit – all a bit unconvincing. I re-read the instructions several times in case I had got the wrong end of the stick as to my mind it’s a case of surely-they-can’t-mean-for-it-to-work-this-way. Incidentally, if anyone who has one of these in a VW has any insight here into what they’re thinking, I’m open all ears. To compensate I designed a little widget that slots into the void in order to provide something solid for the screws to bear against. I printed it in ASA, for the aforementioned heat resistant properties. If it proves inadequate in this regard, I guess I’ll just mill it out of aluminium instead, but for now this serves to firm up the mounting, eliminating the wiggle.
When all is said and done, it works quite well, although it’s taking a bit of getting used to having driven without a mirror for so long. The software could be better. In particular the touchscreen lags significantly behind the display, which is of no consequence 99% of the time, but when trying to set up the reversing guide lines it’s highly annoying. Speaking of the reversing guide lines, I can’t comprehend why they’ve made it possible to individually adjust the left and right lines independently – in what possible circumstance would you ever want them to be asymmetric? By default it makes noises, which mercifully there is an option to disable, but on power up they’ve obviously forgotten to clear the audio buffer and it briefly pops. This is the kind of thing that almost no one will care about, but because I know why it’s happening I find it irritating.
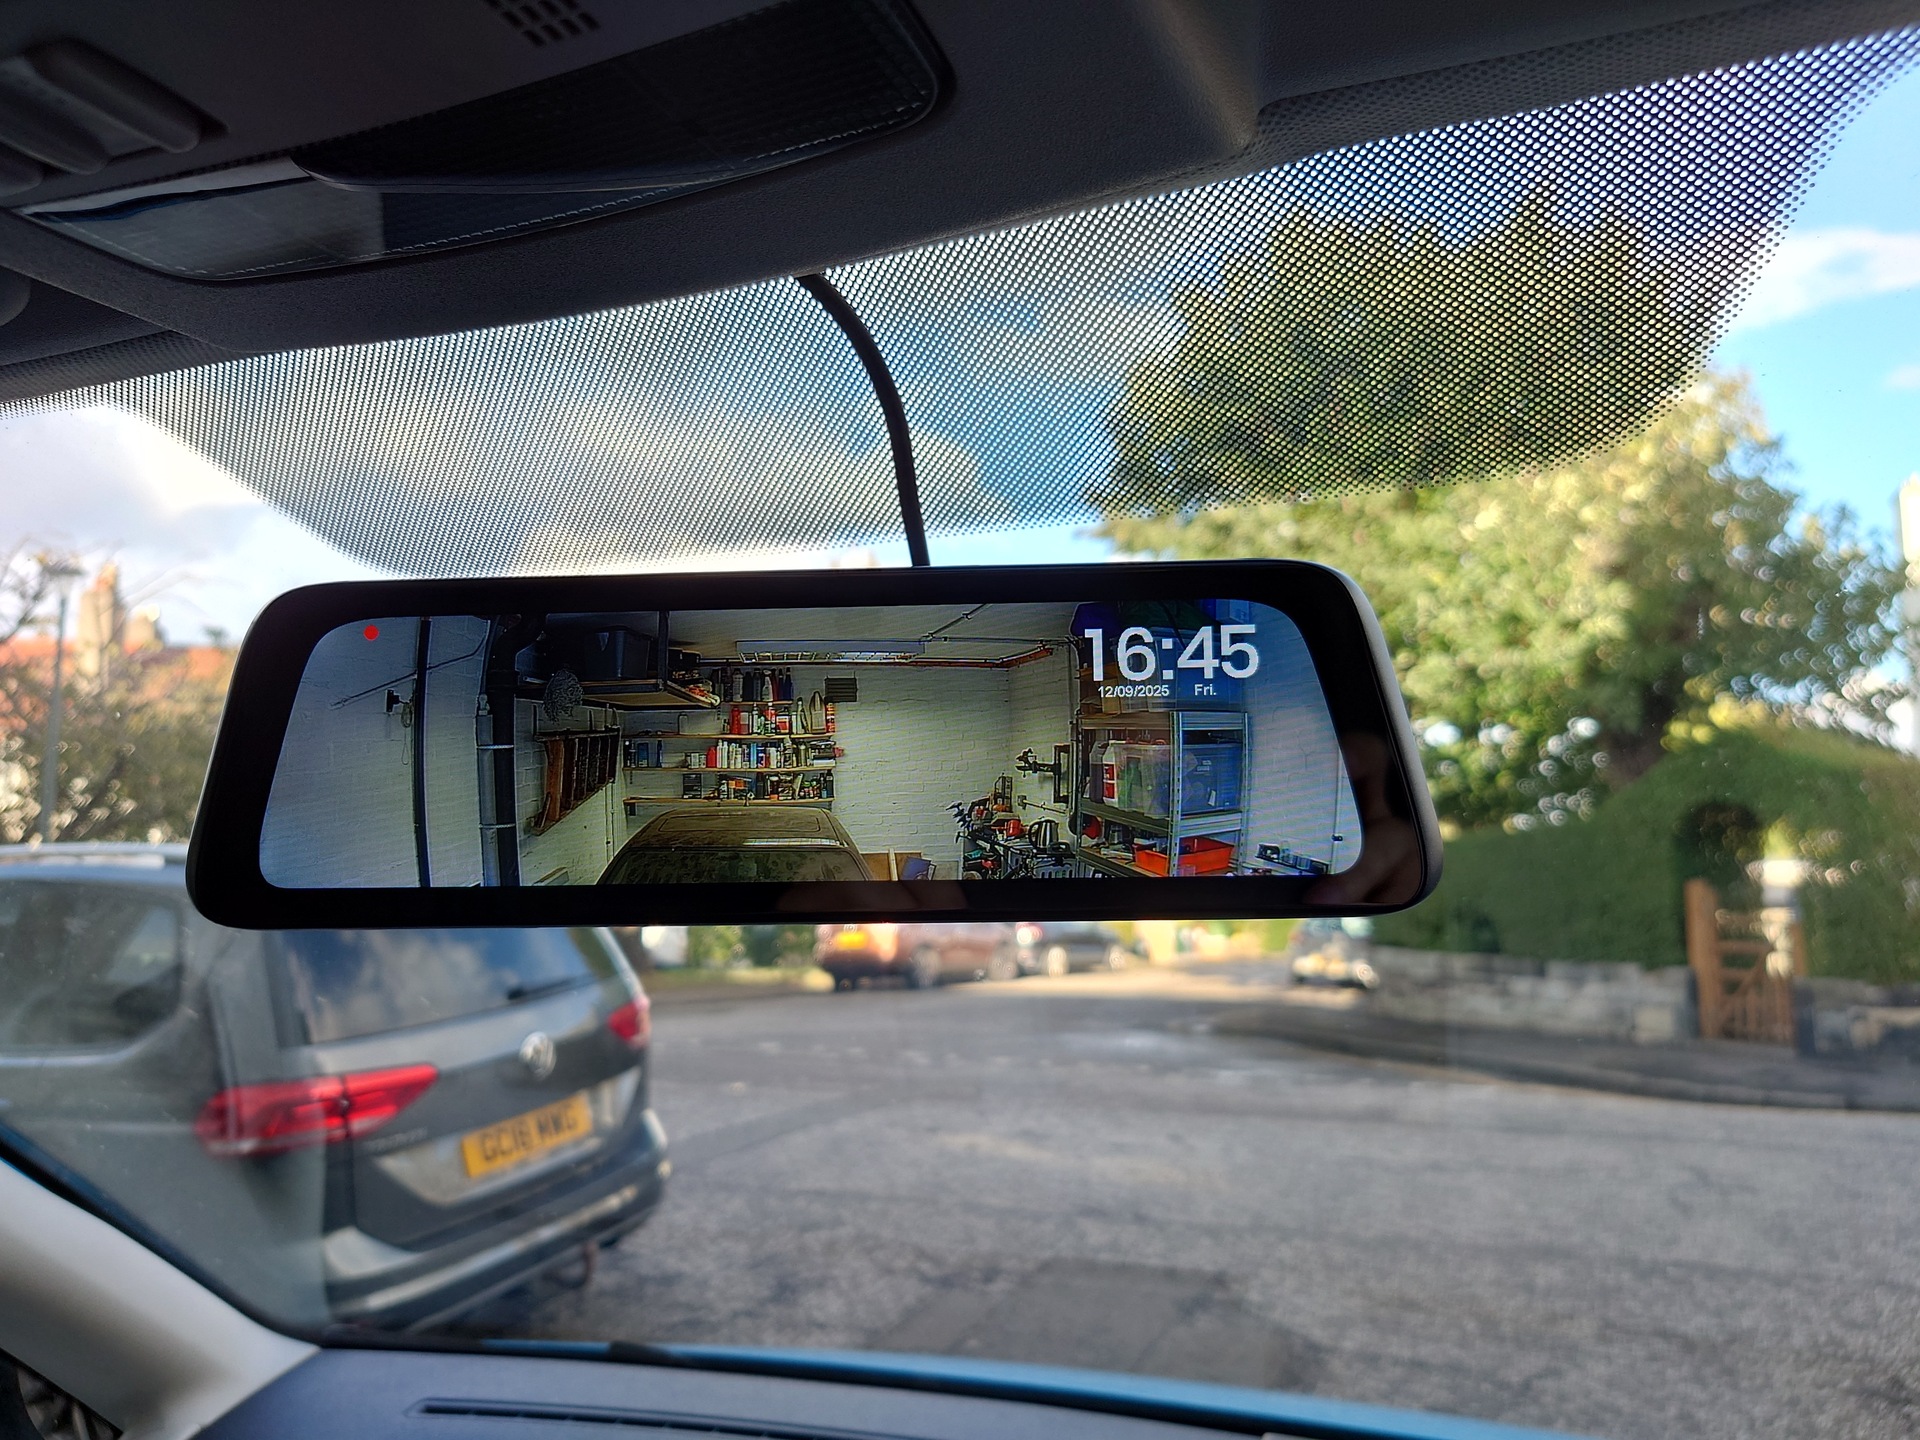
The other problem I’ve had is that the rear camera doesn’t seem to record reliably. I think the reason for this is that I start the car by first turning the ignition on and letting the glow plugs have their effect, in which time the mirror powers up. When I subsequently engage the starter the rear view briefly drops out, presumably because of the voltage drop experienced due to starting itself, but also the quite long distance over which the cable must reach. The loss of the rear camera seems to stop it recording, in that it does record the few seconds when the ignition is turned on, but nothing subsequent to that. This is likely another annoying software bug. I could potentially put some kind of voltage regulator or buck converter inline to hold the voltage up, or I could get into the habit of just starting the car without waiting, but either way it’s a bit crap. Minor quibbles aside though, on the whole I’m pretty pleased with it.